

Click here to download the actual-size pattern.
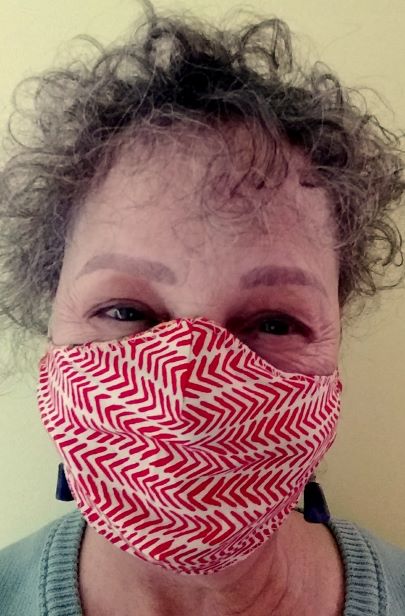
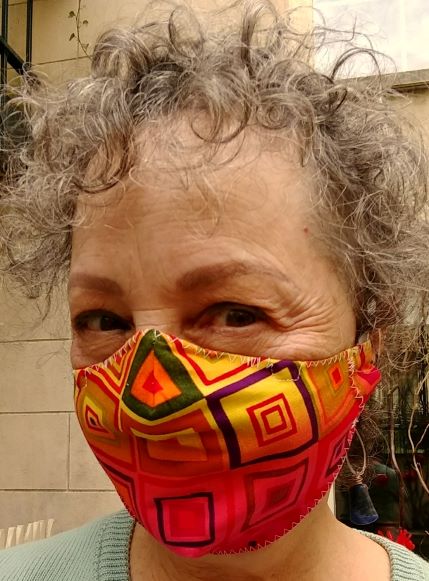
*Two different fabrics so it’s reversible. For each wearing, keep track of which side faces out, and remove the face mask without touching the exterior, or putting it back on with the outside against your face. Wash mask with hot water and soap, then wash hands.
*Easy-sew, no ironing the way I work, and holds up to lots of washes.
*Features elastic to go around the head, over and under the ears.
*Not up to CDC PPE (personal protective equipment) standards!
You will need:
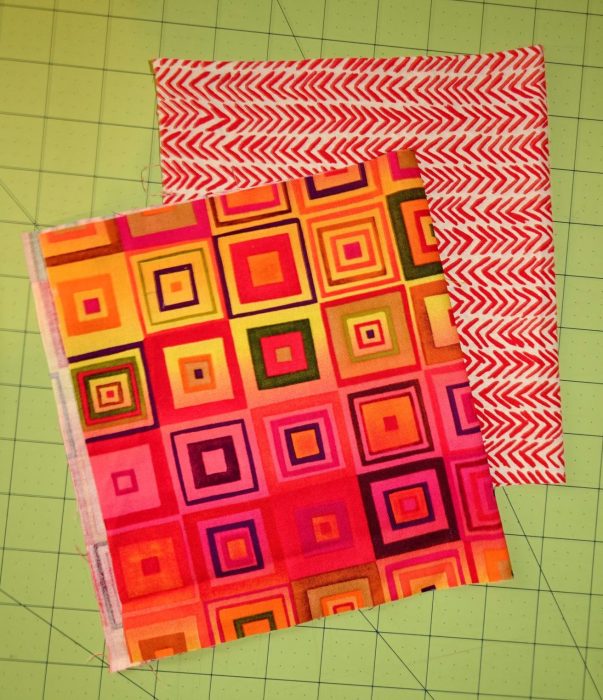
Two different medium-weight, tightly woven, preshrunk cotton fabrics, 8” x 15” (or a fat eighth)
Matching thread
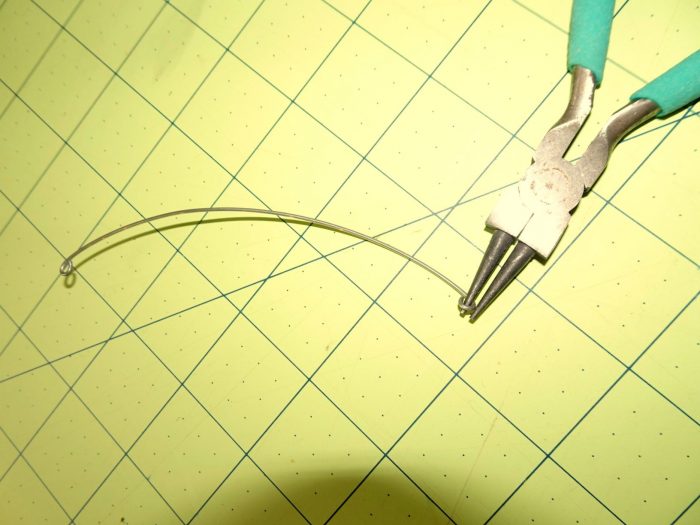
5” length of medium-gauge wire (or pipe cleaner, twist ties), needle-nose pliers
20” narrow or cord elastic; if you are limited, use 7” elastic and 14” bias tape OR two elastic pony tail elastic bands OR in a pinch, rubber bands. You can also cut a 1″-wide x 30″ long strip from just above the hem of a T-shirt—edges will curl in, and it is stretchy to give you a good fit.
What to do:
- Pattern: Print pattern, making sure 1-inch legend is scaled properly.
- Cut out pattern: Large or small.
- Fold and stack fabrics: Fold each crosswise in half, layer one on top of the other, with folds aligned (a).
- Cut out face mask front and back: Position pattern on folded fabrics, with long dash lines along fold. Pin paper pattern and scissors-cut (b).
- Sew darts: Unfold fabric face masks (c). Turn to wrong side. Fold each in half as before, but with right sides facing with dart edges aligned. Stitch a ¼” seam, backstitching or lockstitching at the fold. Repeat for all darts on both pieces. Speed tip: Make an assembly line. Stitch all the darts in a chain, then cut the thread in between darts (d).
- Press darts: Position darts with outside edge closest to you. Finger-press so dart falls to the left (e).
- Align pieces and stitch edges: Place front and back together with right sides facing, making sure top edges with the more sweeping curve are aligned. Also align dart seams; seam allowances of darts should face in opposite directions, allowing you to “nest” them. Insert a pin at the seam (f). If you choose, pin edges in a few more places. Leave a 3” opening on one side of bottom dart for turning. Stitch all around, ¼” from edges, removing pins as you come to them (g and h).
- Clip corners at the ends of the side flaps (i).
- Turn face mask to right side through the opening (j). Use a pin to pull out the corners of the flaps. Iron or finger-press.
- Insert nose wire: Use needle-nose pliers to create a tight little loop at each end of wire (k). Insert through opening (l). Center along top seam, and pin to secure in place. Fold edges of opening to the inside, and pin closed.
- Topstitch or zigzag-stitch all around the face mask, closing the opening. Take care! Work very slowly around wire loops so you don’t break your needle. Keep the wire pressed tight to seam at top center. If you are zigzagging, use a wide, open stitch, sew over the nose wire, avoiding the loops, and over the face mask edges all around. The beauty of zigzag-stitching is that it flattens the edges, so you avoid ironing (m).
- To add elastic bands: fold flaps 1 ½” toward the center, with elastic ends tucked inside. Topstitch or zigzag-stitch edges of flap to face mask, lockstitching or backstitching at beginning and end. (n) Safety-pin the elastic ends together. (o) Note: If you don’t have a lot of elastic, make a continuous band of 7” elastic stitched between ends of a 14” length of bias tape. Or encase pony-tail elastic bands or even rubber bands to fit around ears.
- For wearing: shape the nose wire to fit your nose. Slip elastic emerging at top of folded flaps over your ears and around crown of head. Slip elastic emerging from bottom of folded flaps around neck. Tighten elastic as needed, overlap ends, and stitch elastic ends together. Hide overlapped ends inside a folded flap. ###
a 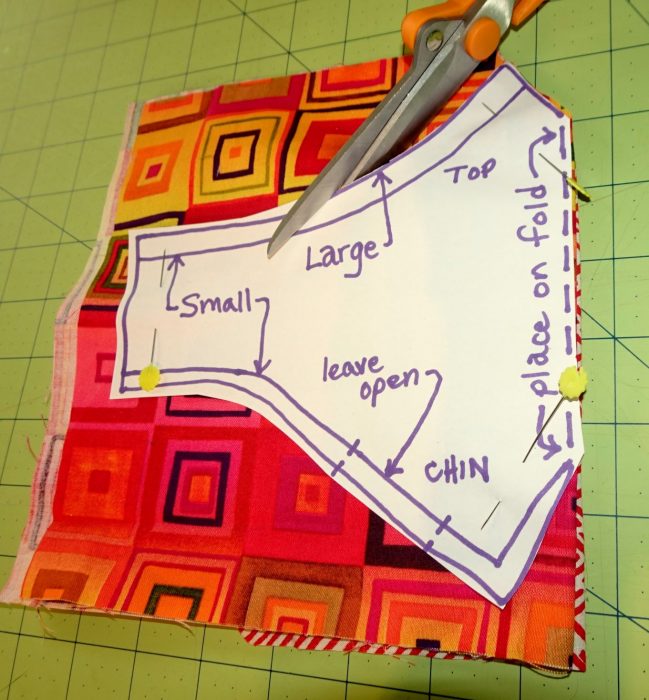
b 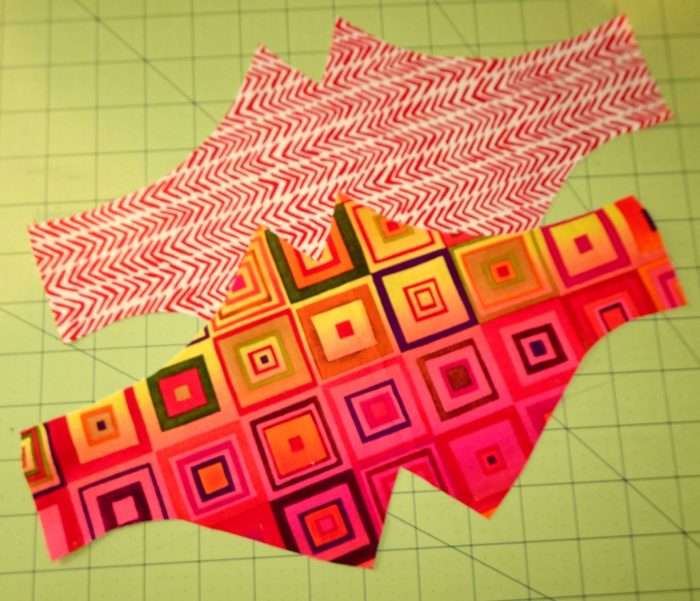
c 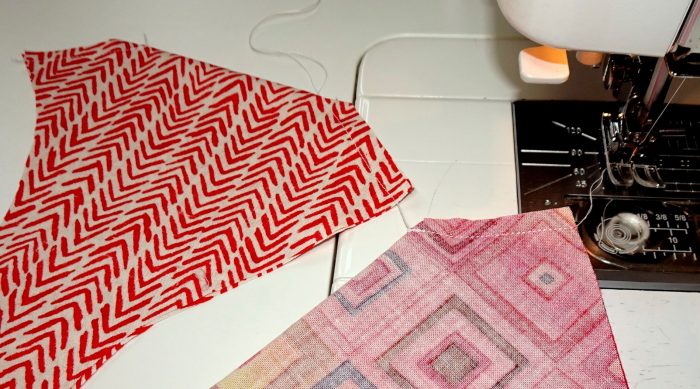
d 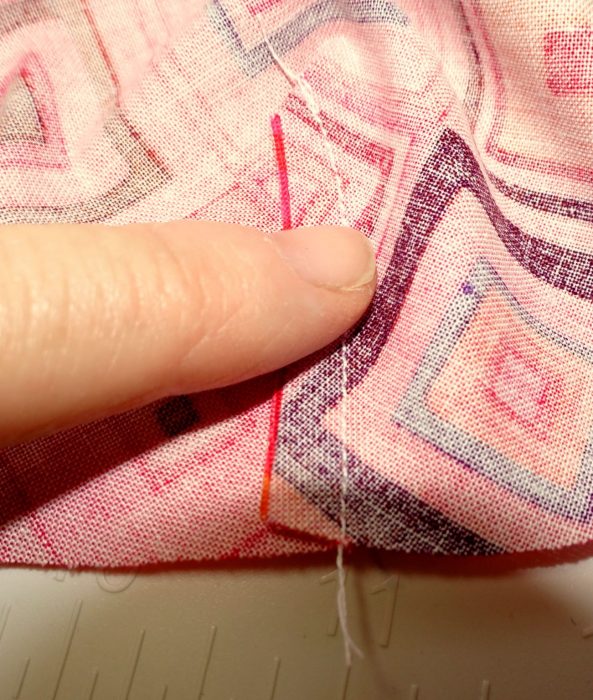
e 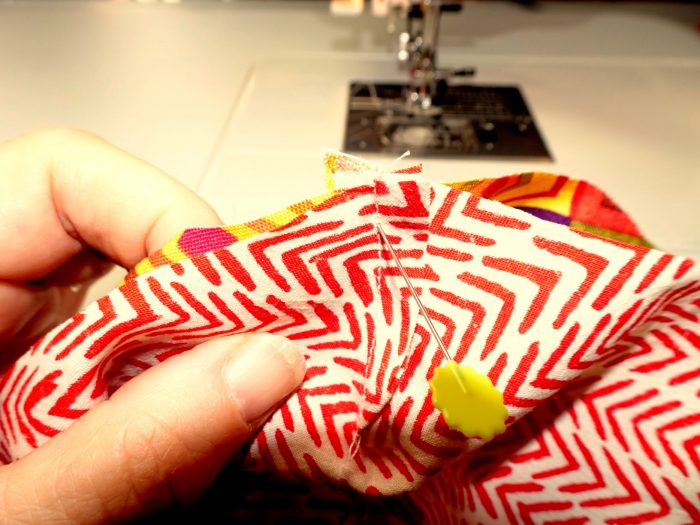
f 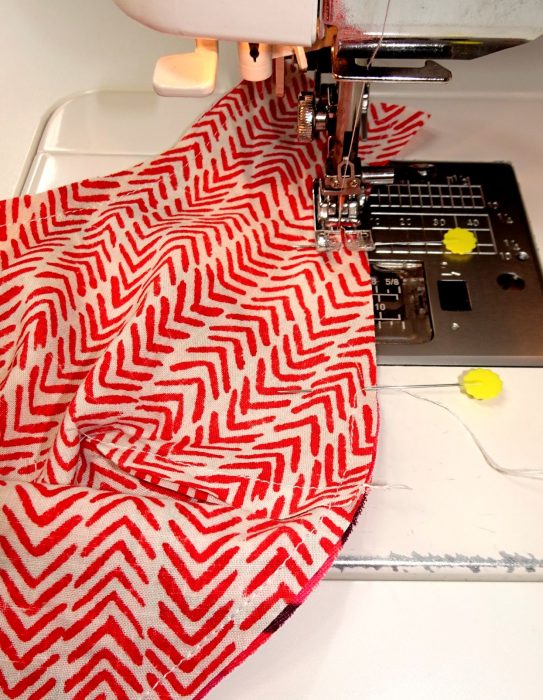
g 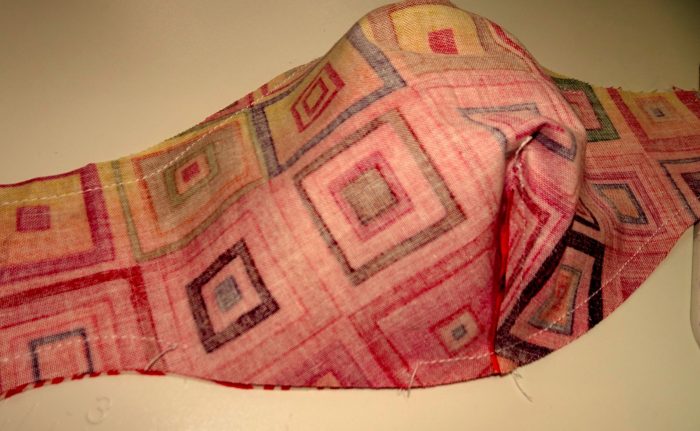
h 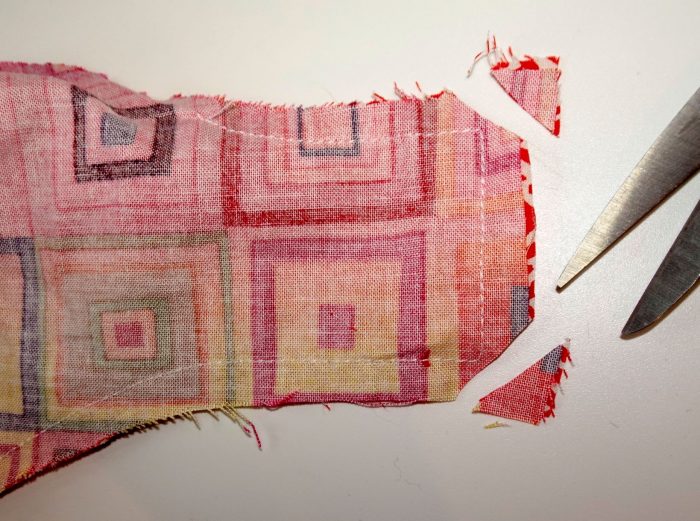
i 
j 
k 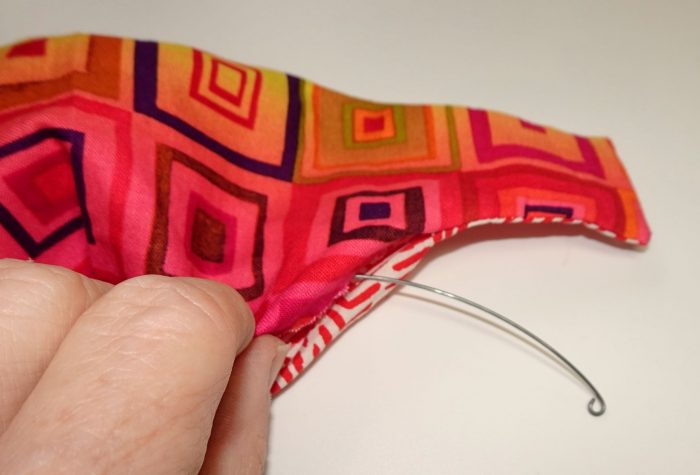
l 
m
n 
o 
p 
q 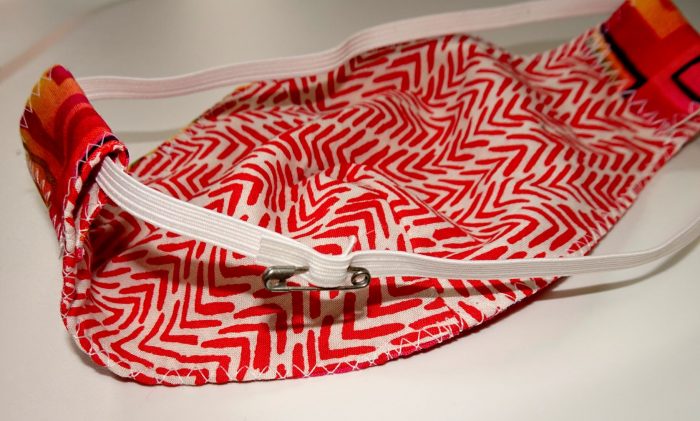
r 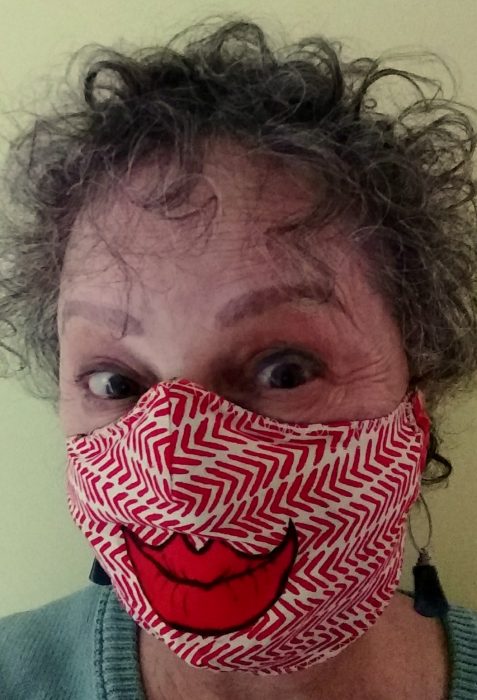
Add a goofy shape!
Wear your mask and stay safe out there!
Thank you so much for your help! kathy
You’re more than welcome!