

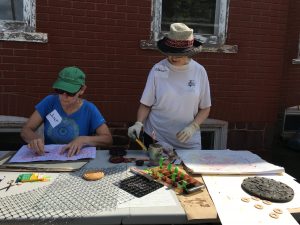
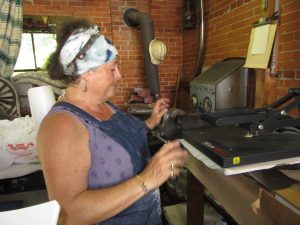
At the workshop mid August, I learned so much from the trials–almost all successful! Just a few tribulations!–of my sister classmates. Although they experimented with lots of surface textures a la Lisa “Dippy Dyes” Reber, I’m going to share what we did using Miriam Jacobs’ techniques, which I am absolutely jazzed about. As Miriam showed us (see my last post) we worked on paper, first with fabric crayons. We placed textures under the paper and then made rubbings, adding lines or marks as desired. Day one, I worked alongside Janet, who is making a rubbing. Then, we painted thick, liquid dyes on top. When we were done, we carried the paper and a piece of synthetic fabric over to the hot press. Kind of like using a sandwich press, but bigger, heavier, and tight enough to make the thinnest croque monsieur you can imagine. Lisa sets hers at 345 degrees and times the transfer for 29 seconds. Miriam sets hers for a little cooler, and a little longer.
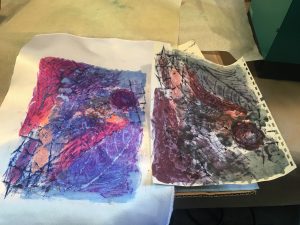
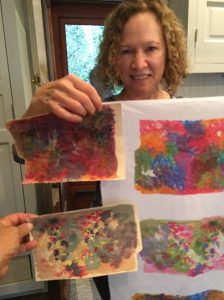
The biggest surprise is the Voila! moment, when you get to see exactly what color that dye produced. It’s not always obvious from the paper, that’s for sure. Check out these examples from Grace, with paper and resulting fabric:
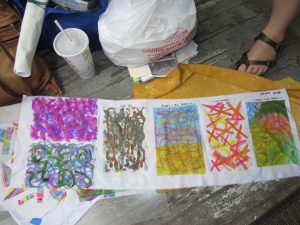
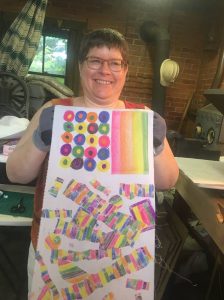
Janet quickly mastered ghosting: reprinting with softer and softer effects. Kerry was very diverse in disperse dyeing, but here’s her crayon and dye work.

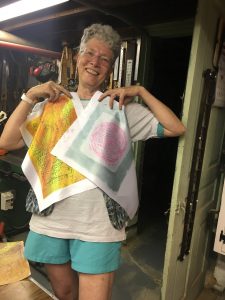
Diana went bold, and produced a prodigious amount of work. “Hot off the press,” so to speak, she’s already ordered all the tools and supplies she needs to keep going. 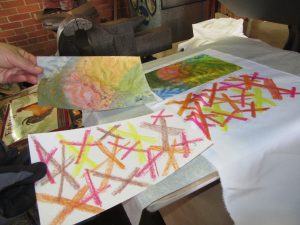

Next post, I’ll share my work.
[…] Dyeing to introduce you… […]
Gorgeous!