

free & fun
Personalized Gift Envelope
![]()
So you've decided not to risk choosing and sending a gift for someone who has reached a milestone. Say, for example, the glad grad. Hey, it's nearly impossible to buy stuff for a teenager! On the other hand, sending a check, while welcome, seems a bit impersonal. My solution: a handmade enclosure for that check. Bet it'll be a keeper long after the money is spent!
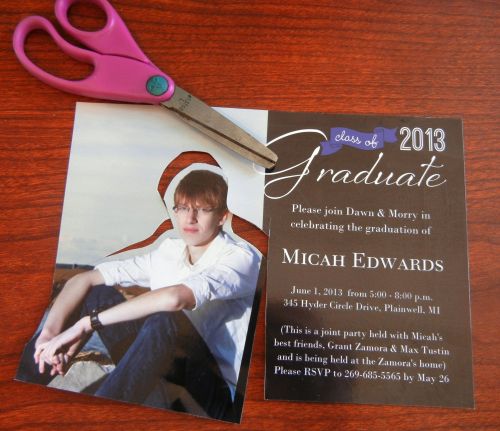
1. Start with a photo. Photo paper or glossy card stock will hold up to stitching, and provide a shiny counterpoint to the matte texture of fabric. I incorporated a portrait that was part of a graduation party invitation/announcement postcard.
Cut out the portrait, or focal point of the picture, leaving a little margin all around.
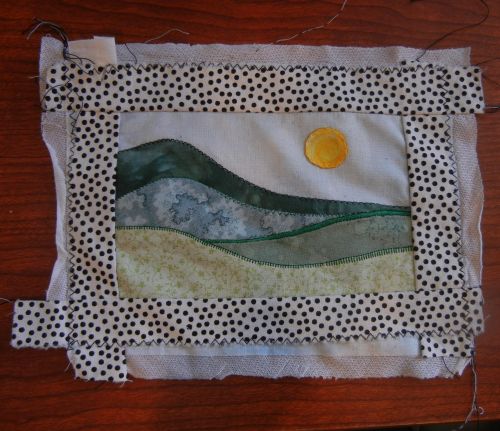
2. For a fabric background, I found a simple landscape applique in a drawer from long ago...you may have a UFO--unfinished object such as this, or an orphan block. If necessary, create a simple background in fabric.
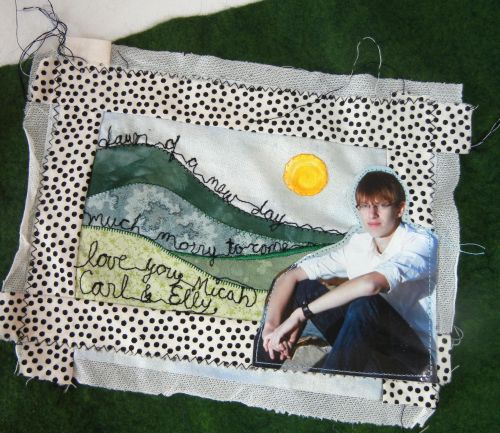
3. Decide where you want to place the cutout. Elsewhere, add best wishes and sign the work. It's best to add a stabilizer to the back of the fabric piece before this step. Use a temporary marker to achieve optimum placement. Then, go over the lines with free motion stitchery, as I did, or use a fine-tip permanent marker.

4. Position the cutout on the background, and stitch around the margin edges, using a color to match the background.
5. Finish the edges of the fabric composition, trimming the edges and turning them to the wrong side, then using machine topstitches, blanket-stitches, or satin-stitches. For the envelope back, choose a non-woven background that won't ravel, such as ultrasuede or felt, about an inch larger all around than the fabric composition, so that it also works as a frame. I used a wool-rayon felt, preshrunk for a sherpa-like texture. Center the photo-fabric piece on top and stitch around three edges, leaving one edge open as if for a pocket.
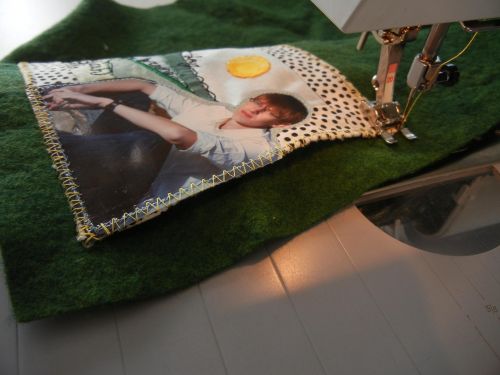
6. Trim the edges of the envelope back/frame. Pinking shears make it less noticeable that this envelope is far from straight and true! Consider cutting deeply zigzagging or scalloped edges with a regular fabric scissors, too. Insert check. Cross this gift off your to-do list, and congratulate yourself for a job well done!
