

free & fun
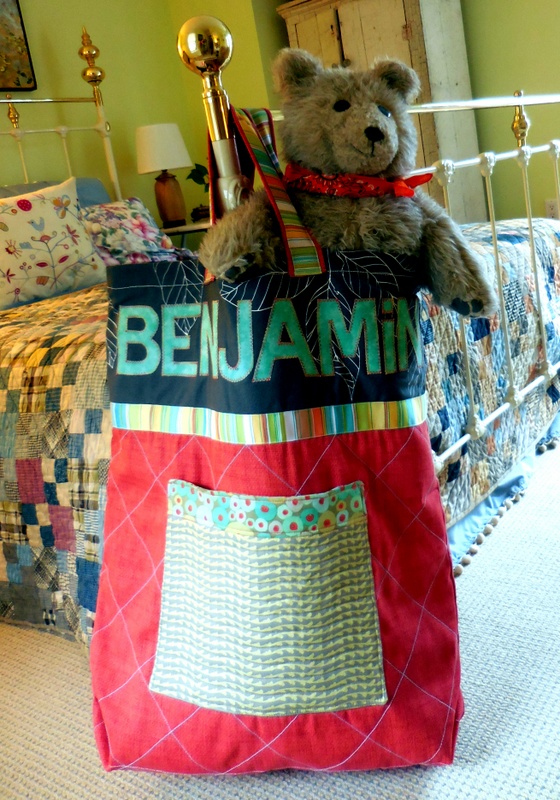
Great Big Toy or Diaper Bag
What You’ll Need:
* Indoor/outdoor or upholstery-weight or fabric, 52” wide: 1 yard for bag and handles; 5/8 yard for lettered band
* A variety of medium-weight cottons 44” wide, to contrast or coordinate: ¾ yard for lining; a fat quarter (18” x 22” piece) for pocket; 6” x 14” rectangle for pocket “cuff”; small amount of fabric for letters
* Small amount of fusible web
* Batting: 45” x 48”
* 3½ yards grosgrain ribbon, 1½” wide
* Thread to match and contrast with fabrics
What to do:
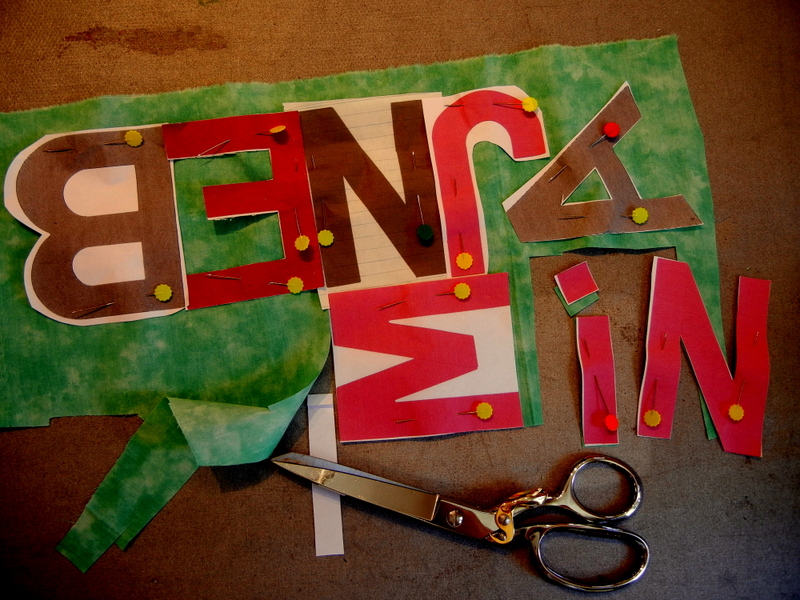
1. Letters: Press fusible web to the back of the contrast fabric for the letters—see Alphabet Letters here. Release paper backing. Print out the actual-size alphabet letters you need. Cut the letter patterns out and pin to the fusible-backed fabric, then cut out the letters.
2. Cutting: For the bag, cut two heavy-weight fabric rectangles, 24” x 27”. From the same fabric, cut two strips 5” x 23” for the bag handles. From batting, cut two rectangles 26” x 26” for the bag, plus two strips for the handles, 5” x 22”. For the top band, cut two rectangles, 12” x 27”. For the lining, cut two rectangles, 27” x 31”.
3. Layout: Place a band on one bag rectangle, with right sides facing and 27” edges even. Stitch along outer 27” edge, leaving a 1/4” seam allowance. Open and press. Repeat for the other band and bag rectangle. Pin batting to the back of each bag and band, centering it ½” from edges. Trim off 1” of batting from the top edges of bag front and bag back. Fold band 1” over batting to wrong side and pin to secure.
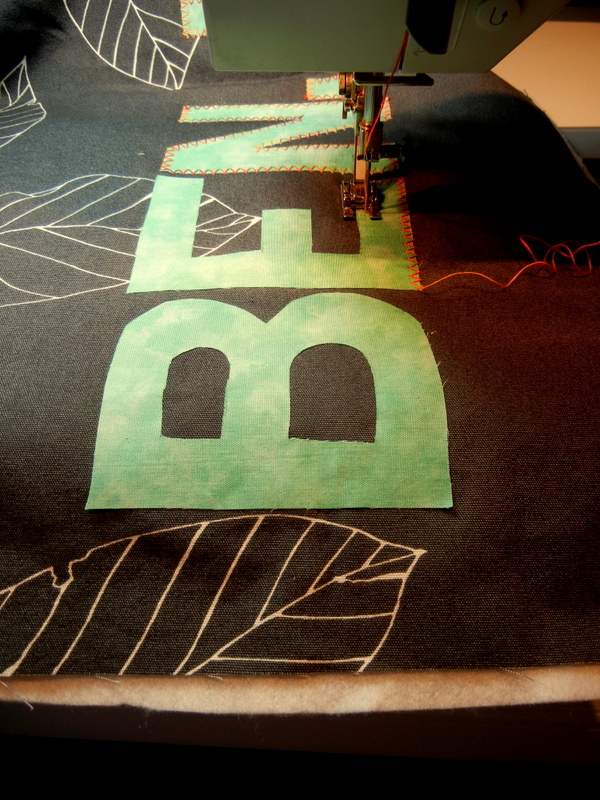
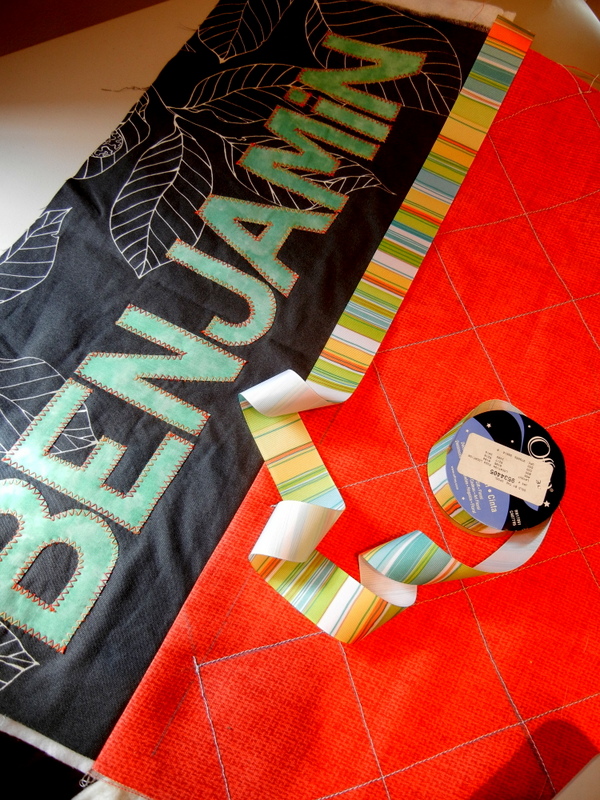
4. Band: Arrange letters on one band, which will be the bag front. Press to fuse. Using contrast color thread, zigzag-stitch around all the letters’ raw edges.
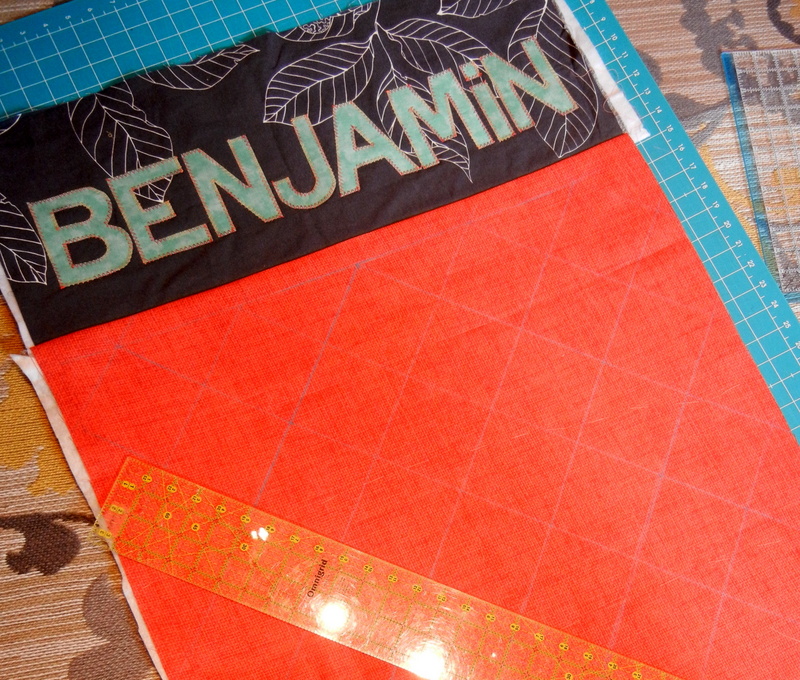
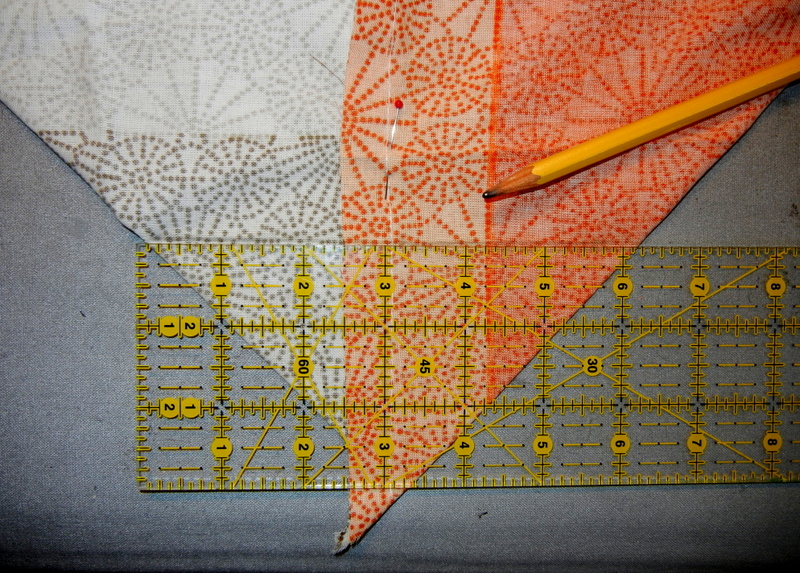
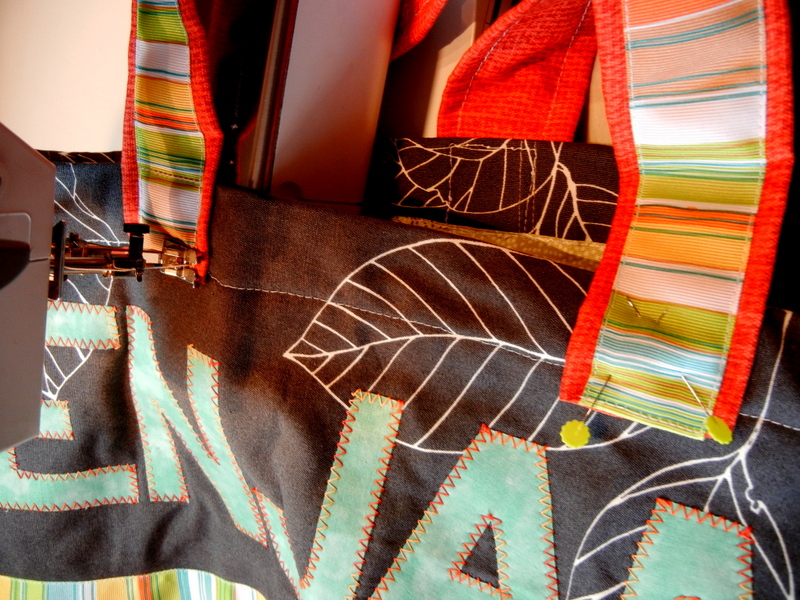
5. Quilt: Using a ruler and pencil or chalk, draw a diamond grid over the bag, excluding the band. Stitch along drawn lines. Center grosgrain ribbon over the seam between the band and the bag front and back and topstitch in place.
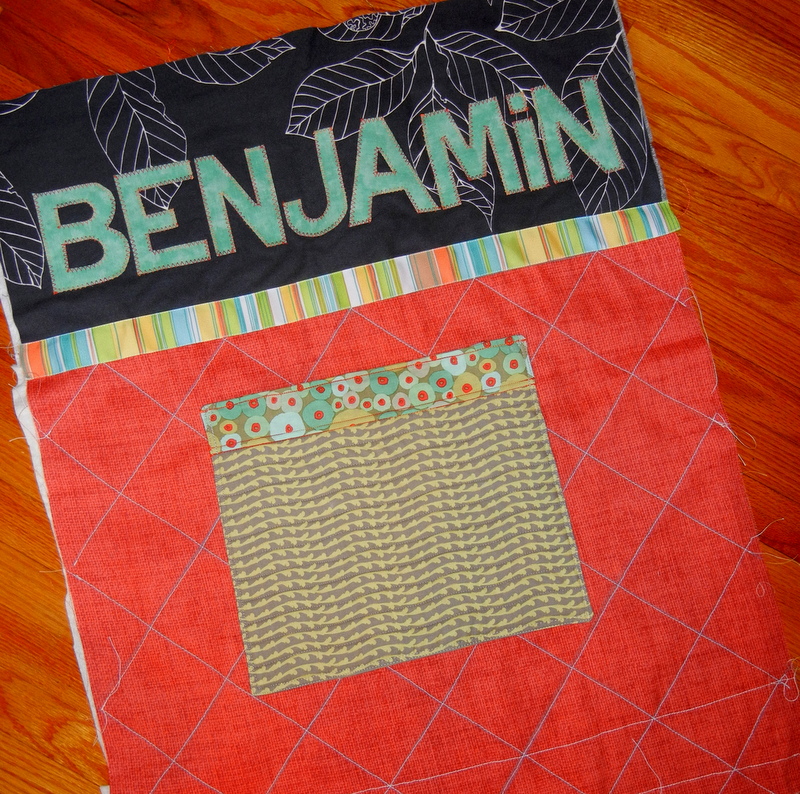
6. Pocket: Cut rectangles 12” x 14”: two from fabric and one from batting. Place 6” x 14” rectangle for pocket “cuff” on one pocket rectangle, with right sides facing and 14” edges flush. Shift cuff down 2” as shown below at left, and stitch across, 2-1/4” from the edges of the pocket and leaving a 1/4” seam allowance. Flip cuff up 14” edge and press. Place on second fabric rectangle, with right sides facing and cuff extending 3/4”. Stack that pair on the rectangle of batting. Stitch around all sides except where the band extends.
Trim batting within seam allowances, and clip up to the stitching across all corners. Turn pocket to right side. Press. Turn cuff ¼” to wrong side twice, fold over batting and backing, and pin. Topstitch to encase open edge, and all around cuff. Quilt horizontal lines, 1” apart, across pocket. Center on bag front as shown, and stitch around sides and bottom of pocket.


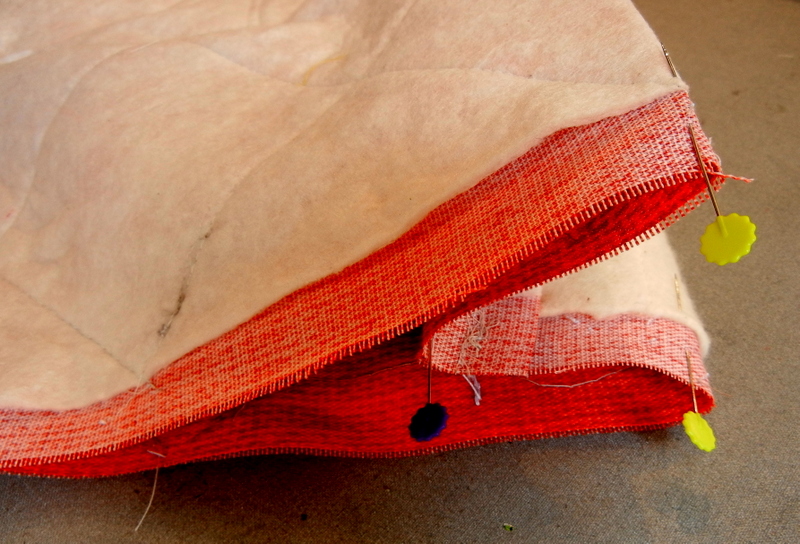
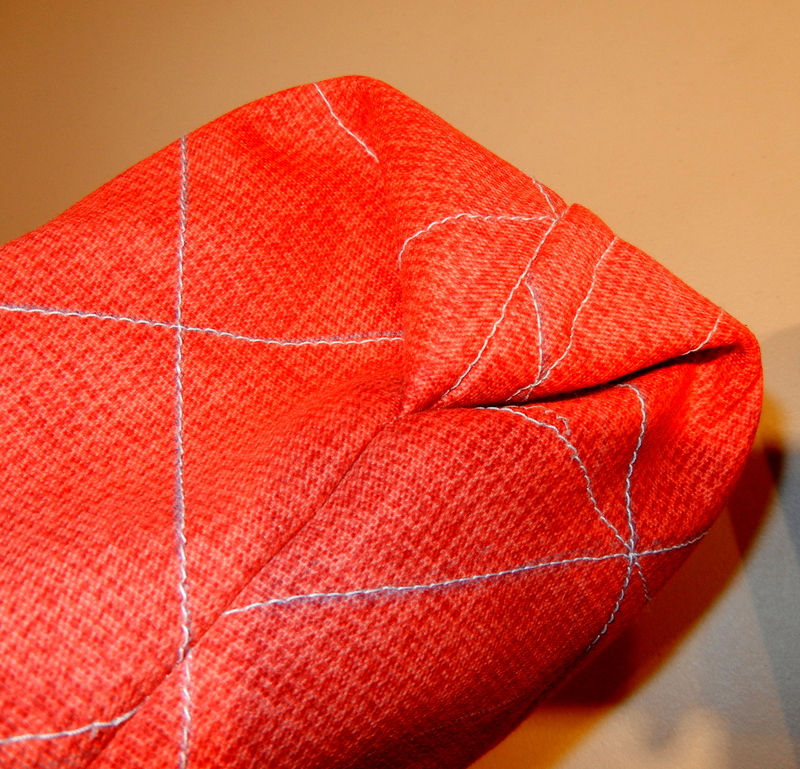
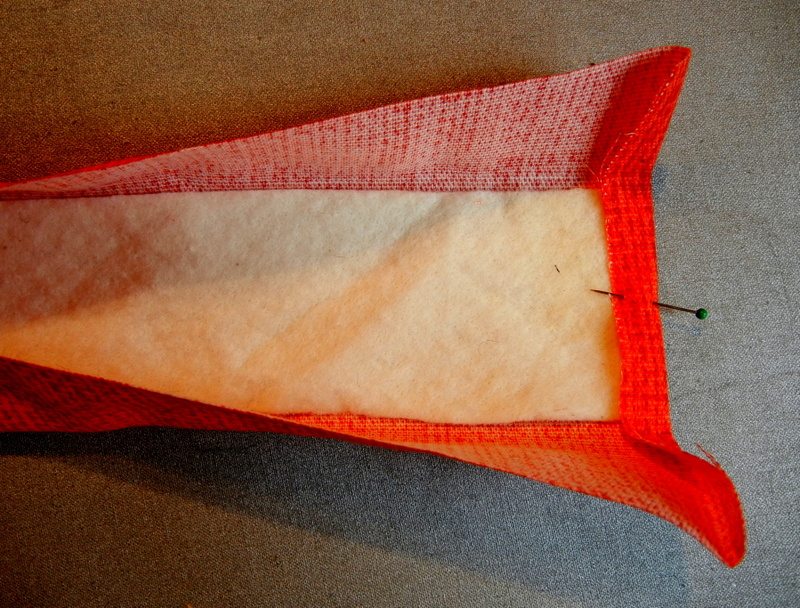
7. Boxed bottom: Place bag front and back together with right sides facing. Stitch along bottom edges. With wrong side out, place pins along sides, 2½” from bottom seam. Bring bottom seam up to meet pins, forming the letter M. Stitch sides, going slowly to sew through the many layers at the bottom. Zigzag-stitch over raw edges for a clean finish. Turn bag right side out; gusset will form a triangle, as shown in the third photo below.

8. Lining: Pin two rectangles together, right sides facing. Stitch around edges, leaving one 27” edge unstitched. Fold each corner bottom corner so the side seam runs along the center, as shown below. and mark off a triangle base, 3” from the triangle peak. Stitch along this marked line, to create a boxed bottom. Cut off the triangle peak, leaving a ¼” seam allowance.
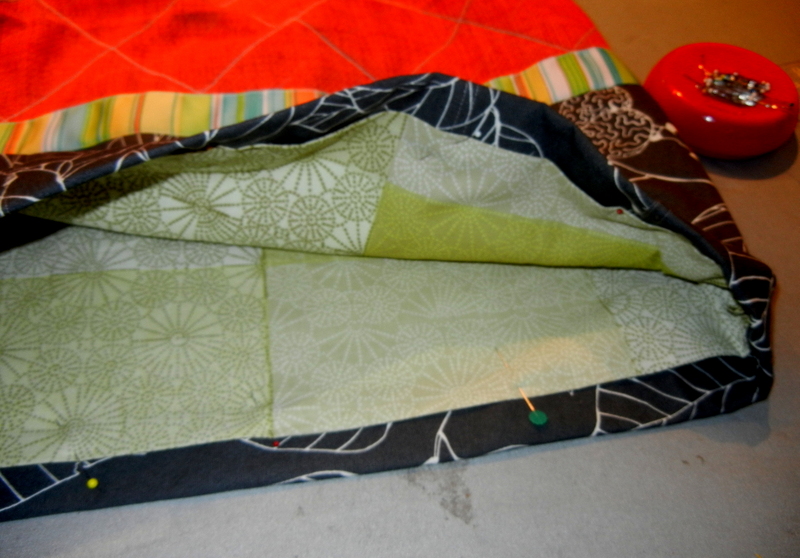
9. Assembly: Insert lining into bag, aligning the side seams. Turn the top edges of the lining to the wrong side so the top band extends 1”, and hand-stitch the lining over the band to secure.
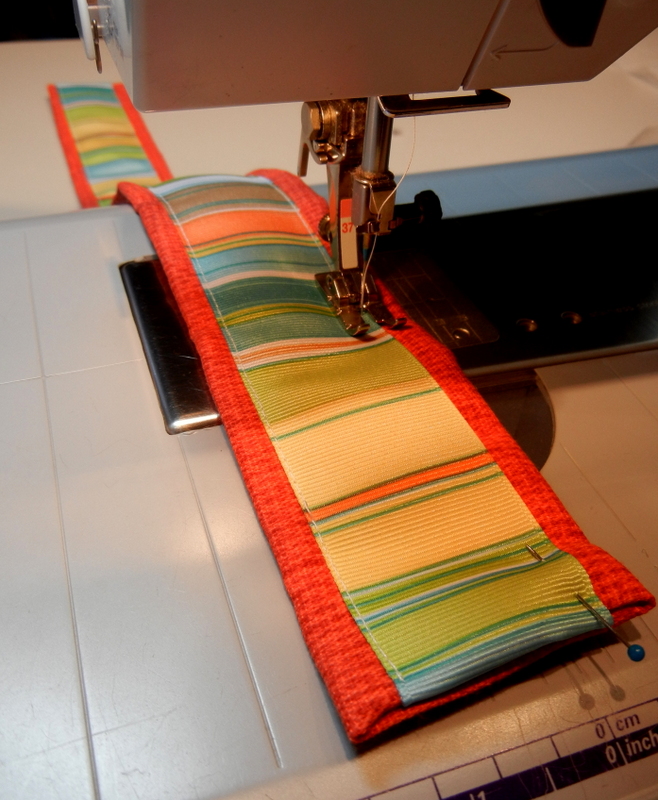
10. Handles: Center one batting strip on each strip of bag fabric as previously cut. Fold the long edges toward the center, over the batting. Press. Cut two 22” lengths of 1½” ribbon. Lay ribbon on top, and fold the short ends of the ribbon inside the folds. Topstitch ribbon, finishing handles. Pin ends of one handle 5” apart to front of bag, overlapping the band by 2”. Pin ends of the other handle to the back of bag in the same way. Stitch a 2” square over handle and bag, with an X inside to secure handles firmly in place.
###