free & fun
Framing Quilt-Art Postcards
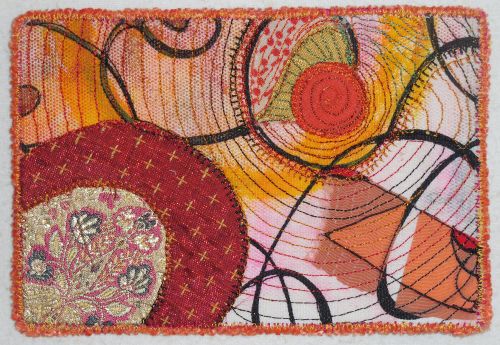
An art postcard I made, you can find out how on my quilting blog--click here.
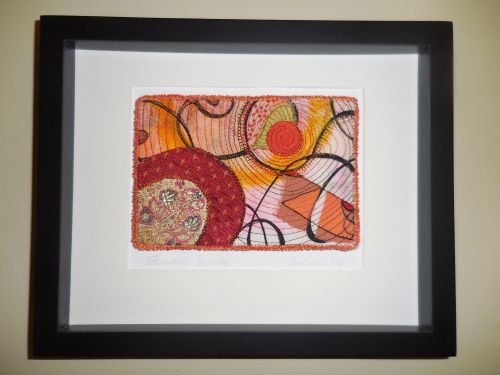
Here's the same piece, glorified in a shadowbox frame. Kicks it up a few notches, making it seem more like art, less like a postcard, don't you think?
Gotta give a shout-out to SAQA and Cindy Friedman for sharing this framing method, and to Meredith E. Armstrong for improving on it. Which I hope I've interpreted correctly! You'll need a Dakota Shadow Box Frame, 8"x 10"which I ordered at www.pfile.com, but is available elsewhere, too. I ordered black; you can also get it in a warm, deep, walnut. You'll also need a sheet of watercolor paper---heavyweight (115 lb. or more), cold-pressed. Use your rotary cutting supplies to cut a 8" x 10" to fit this frame.
1. Cut foamcore board 1/2" smaller all around. Squirt glue onto one side, and use an old credit card to squeegee it across the surface. Center on the back of the postcard, with a 1/2" margin all around. Press to adhere, and let dry.
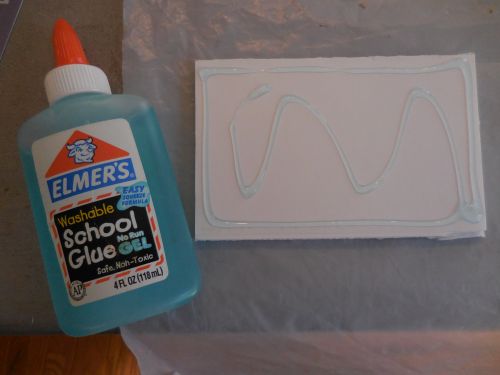
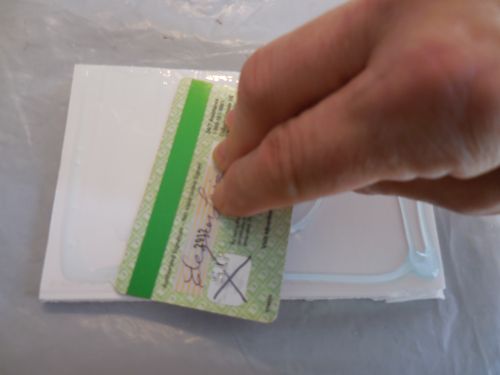
2. I applied and then squeegeed glue to the other side of the foamcore board.
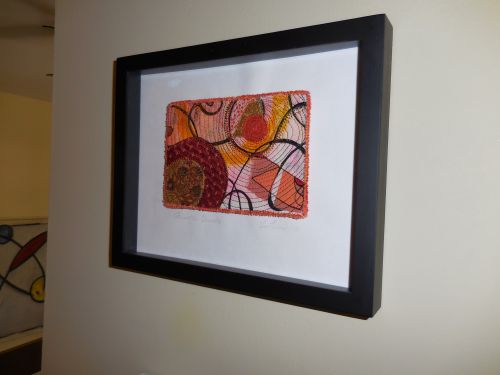
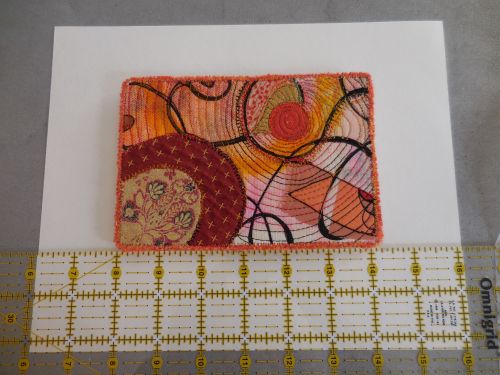
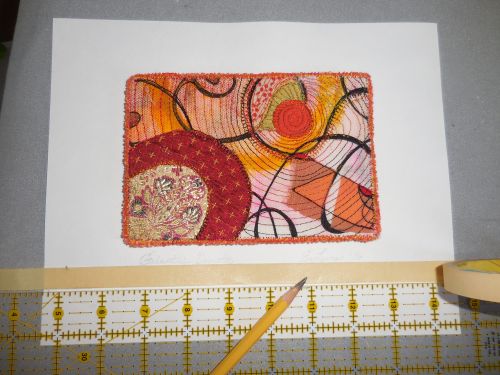
But--STOP THE PRESSES! The moisture resulted in some buckling of the watercolor paper. Notice the slight ripple along the paper's top edge in the second photo from the top, and the photo at right. I camouflaged that problem by trimming the picture mat that came with the frame to accommodate my off-center positioning, and laying it over the postcard and watercolor paper--see the final photo. I've since learned to avoid using wet glue on the watercolor paper, substituting the use of a dry adhesive. The framing industry method is to apply acid-free double-sided tape to the other side of the foamcore board rectangle. Rubber cement, glue dots or glue lines (from the craft stores) should also work well.
Use clear acrylic rulers to help you accurately position the postcard on the paper, centered between the side edges, and closer to the top edge than the bottom edge. Lay masking or painter's tape along the bottom edge, aligning with the ruler, to help you title, sign, and date your piece in a straight line.
3. Disassemble the shadow box frame. Clean the glass. Insert the glass, then the spacer--a rectangular frame that gives the piece depth, and also provides air around your art, preventing mildew. Add the matt if appropriate. Then, place the watercolor paper, with the postcard oriented to corresepond with the triangular hanging ring and easel stand. Although, if you plan to hang your framed piece, consider removing the easel stand altogether, so your frame hangs evenly against the wall. Attach the pressboard back, bending down the tabs to secure the layers.